

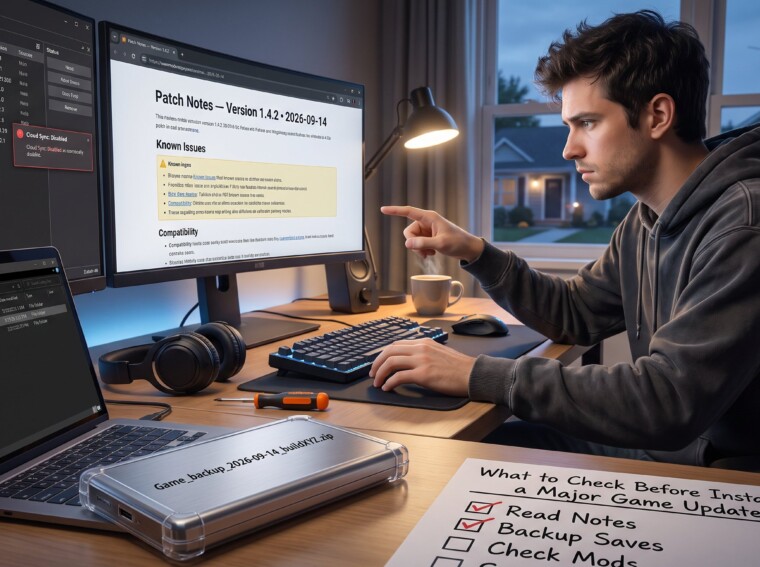
What to Check Before Installing a Major Game Update should be the first line in any pre‑patch checklist. Gamers who skip a quick audit risk corrupted saves, broken mods, and hours of troubleshooting. This guide gives nine focused steps to read patch notes, verify system needs, secure backups, and plan for third‑party tools so updates go smoothly and downtime stays short.
Key Takeaways
- Read the official patch notes thoroughly to understand changes, known issues, and mod compatibility before installing a major game update.
- Verify system requirements, available storage, and network conditions to ensure a smooth update process without interruptions.
- Back up game saves, settings, and configurations locally and in the cloud, verifying backups to safeguard against data loss.
- Identify and plan for mods, overlays, and anti-cheat changes by checking compatibility and following safe update procedures.
- Use isolated testing for mods and update critical components first to avoid crashes and corrupted saves after the patch.
- If problems arise, troubleshoot methodically, use backups for rollback, and report bugs with detailed information to support teams.
Read The Official Patch Notes And Known Issues
Read the patch notes first: they state exact changes and list known issues that affect saves, features, or platforms. Start by finding the version number and the release date in the notes. Look for sections titled “Known Issues,” “Breaking Changes,” or “Compatibility”, these often flag corrupt‑save warnings or disabled features.
After the key facts, scan for phrases that matter to the player: “save file migration,” “profile reset,” or “anti‑cheat update.” If the notes warn about mod incompatibility, mark the mods you use and compare versions before updating.
A concrete habit: copy the notes into a dated log (for example, “Patch_2026-09-14_notes.txt”) so the exact wording and version are preserved. That log helps when reporting bugs or requesting rollback from support teams. When uncertain, cross‑check developer social posts and community threads for newly discovered problems, but treat only the official notes as authoritative.
Verify System Requirements, Storage, And Network Needs
Confirm the new build’s minimum OS, CPU, GPU, RAM, and disk space before installing. The crucial fact: many updates raise resource needs, a game that ran fine may require extra RAM or a newer GPU driver after a major patch.
Check free storage: allow for the download plus temporary files: a conservative rule is reserve an extra 20% of the patch size. For example, a 30 GB patch often needs 6–10 GB of temporary space during installation. Also verify the OS version and any required drivers listed in the notes.
Network matters: large updates strain bandwidth and can trigger ISP caps. If the patch is over 50 GB, consider scheduling it overnight or using a wired connection. For patch tracking and coordinated release timing, consult the site’s resource on timing and release methods in the cluster article about how to track release dates.
Back Up Saves, Settings, And Configurations
Back up saves and configuration files before updating. The most important action: close the game and launcher, then copy the entire user data folder. Use a clear, dated archive name such as “Game_backup_2026-09-14_buildXYZ.zip” and store it on a separate drive.
Also copy profiles, keybinds, and mod configurations, those files often live in a “Saved” or “Config” subfolder. Test backups by quick extraction to a spare folder and opening the game to verify the files appear in the load menu. Keep at least one pre‑update backup offline or on an external drive.
If cloud sync is active, temporarily disable automatic sync during the update to avoid overwriting or merging active saves with a corrupted version. For general guidance on staying updated, TheGameArchives provides an updates guide that explains release workflows and patch context.
Cloud Backups Vs Local Backups — Which To Use And How To Verify
Cloud backups give off‑site protection and automatic versioning: local backups offer faster restores and independence from account access. The key recommendation: use both.
To verify a cloud backup, sign into the cloud service interface and confirm the most recent save timestamp matches the pre‑update time. For local backups, test a restore: extract the archive into a separate folder and launch the game with a command‑line profile or a duplicated user folder. If the game loads the save and shows the expected character level or playtime, the backup passes verification.
A user anecdote: one player discovered their cloud rollback had been interrupted and only the local zip restored their 120‑hour campaign. That saved weeks of replay. Maintain both copies and label them precisely with build numbers and dates.
Plan For Mods, Overlays, Anti‑Cheat, And Third‑Party Tools
Identify all active mods, overlays, injectors, and toolchains before applying the update. The main fact: mods often break across major game versions and can cause corrupted saves or crashes.
Create a short manifest listing each add‑on, its version, and where it lives on disk. Note anti‑cheat announcements in the patch notes because updates may change tolerated memory signatures or block injectors.
Practical step: consult community mod pages and the mod manager for compatibility tags. For strategy on performance and gameplay shifts that happen after patches, reference the site’s analysis on performance changes article to anticipate which mods will need reworking.
How To Temporarily Disable Or Update Mods And Tools Safely
Disable or update mods safely by testing them in isolation. First, back up the entire game and mod directories. Then create a duplicate game instance or use a mod manager profile to test the update without touching the main install.
Disable non‑essential mods first: update critical framework mods and dependencies before re‑enabling other add‑ons. If a mod requires a specific installer or script hook, update that framework before the mod itself.
For online titles, remember anti‑cheat sensitivity: disable overlays and injectors unless the developer explicitly lists them as allowed. If unsure about a mod’s behavior after patching, follow the mod author’s update instructions, community tutorials and official mod pages often explain safe steps. For a deeper walkthrough on updating mods, the NexusMods wiki on updating mods is a helpful technical reference.
Troubleshooting, Rollback Options, And How To Report Post‑Update Bugs
If problems appear, use a methodical troubleshooting sequence: disable mods, test a fresh profile, and then restore the pre‑update backup if the issue persists. The critical fact: keep the matching pre‑update backup of both game files and saves for rollback.
Confirm whether the platform supports version rollback (some launchers keep older builds, others do not). If rollback isn’t available, use the archived backup to recreate the previous state. When filing a bug report, include platform, exact game version, reproduction steps, logs, and whether mods or overlays were active.
A practical reporting tip: attach a zipped copy of the latest log files and the exact error messages. For policy or community posts documenting widespread post‑patch problems, reputable outlets and community reporting, including an analysis on PC Gamer, often explain best practices for clean reinstalls and mod removal, which helps when publicizing a reproducible bug.
Conclusion
A brief pre‑update routine saves hours: read patch notes, verify system and storage, back up both cloud and local saves, and plan for mods and anti‑cheat changes. When issues occur, use a tested backup for rollback and provide detailed reports. These steps keep playtime safe and downtime short.